What is an inspection chamber?
An inspection chamber is a vertical shaft that reaches from the surface down to the level of the wastewater pipe. At the bottom, the wastewater flows through the chamber in an open channel, known as the flow channel or benching channel. At the top, a cover closes the chamber so that nobody falls in and no odours escape.
The chamber interrupts the closed pipe at a defined point. This allows specialists to insert their equipment – jetting hose, camera, robotic cutter or test plug – into the pipe from here in both directions. Without an inspection chamber, many jobs would require opening up walls or digging.
In everyday use, several terms are used side by side: access chamber, inspection shaft or simply ‘the manhole in the garden’. They almost always mean the same structure. The inspection chamber is to be distinguished from the silt trap, which is meant to hold back solids, from the soakaway chamber, through which rainwater enters the ground, and from the cleaning access point, a screwed cover directly on the pipe inside the building. An inspection chamber holds nothing back and lets nothing soak away – it makes the pipe accessible.
Where are inspection chambers located?
The position of the inspection chambers results from the property drainage planning to SN 592 000. Typical locations are changes of direction in the underground drain, points where several pipes join, longer straight pipe sections and the last chamber on your own plot before the connection to the public sewer system.
Many owners do not know where their chambers are, because covers have disappeared under lawn, gravel, paving or planters. The property’s drainage plan shows where the chambers should be. If there is no plan, the chambers and the route of the pipes can be found again using a camera and a locating sonde.
The last inspection chamber on the plot plays a special role. In its glossary, based on SN 592 000, the Swiss Water Association (VSA) defines the property connection pipe as the pipe that carries the wastewater ‘from the last inspection chamber or last inspection opening on the plot to the sewer’. This chamber therefore marks the transition from the underground drain to the connection pipe and, where the house connection is damaged, it is usually the point from which jetting and filming are carried out.
Design and materials
Inspection chambers are usually made of concrete rings or plastic; older chambers are also built of masonry. They are closed off by a cast-iron or concrete cover whose load capacity must suit the location – a lighter version is enough in the garden, but a driveway needs a cover that can be driven over.
What is crucial for the function is the channel at the bottom of the chamber and the watertight pipe connections. If the channel is broken or missing altogether, solids are left behind and deposits form. If the pipe connections leak, wastewater gets into the soil or groundwater gets in as infiltration water.
Chamber base, channel and benching
At the bottom of the chamber is the channel, a half-round gutter that carries the wastewater from the inlet pipe to the outlet pipe without loss of flow. To the side of it, the benching rises slightly, so that no water collects there and specialists can stand safely. A properly formed channel is the main reason why an inspection chamber can go for years without deposits.
Chamber rings, cone and chamber neck
Above the base come the chamber rings, which are stacked on top of each other depending on the depth. A cone or a cover slab tapers the chamber to the opening for the cover; above this is the chamber neck with bearing or adjustment rings. Every joint between these parts is a potential weak point, which is why it is sealed with particular care during construction and rehabilitation.
Cover and frame
The chamber is closed off by the cover with its frame, usually made of cast iron or concrete, sometimes with ventilation holes, sometimes closed and odour-tight. The load capacity it needs depends solely on the location – more on this in the section on the chamber cover.
Sizes: how big is an inspection chamber?
There is no single standard size. The diameter depends on the depth of the chamber, the nominal diameter of the connected pipes and whether the chamber is only to be operated from above or also entered. The relevant documents are SN 592 000 for property drainage and the standard specifications of the municipalities and cantons, which often prescribe their own drawings. One example is the standard drawing ‘D 11.11 Inspection chamber DN 600’, published on the website of the canton of Schwyz.
For chambers made of precast concrete elements, the overview on Wikipedia (article ‘Kontrollschacht’, accessed on 14 October 2026) gives cone openings with an upper diameter of 625, 800 or 1000 mm and a cone height of usually 60 cm. It gives DN 1000 as the nominal diameter of the chamber base section for pipes up to DN 600. These values come mainly from public sewer construction; chambers on private plots are often smaller, and older masonry chambers deviate from any standard anyway.
For owners, one thing matters above all: the chamber must be large enough for the jetting hose, camera and suction pipe to be inserted without contortions. If you want to know the actual dimensions of your chamber, you will find them in the drainage plan or can have them recorded at the next cleaning.
Chamber covers: load class and bringing the cover to the right level
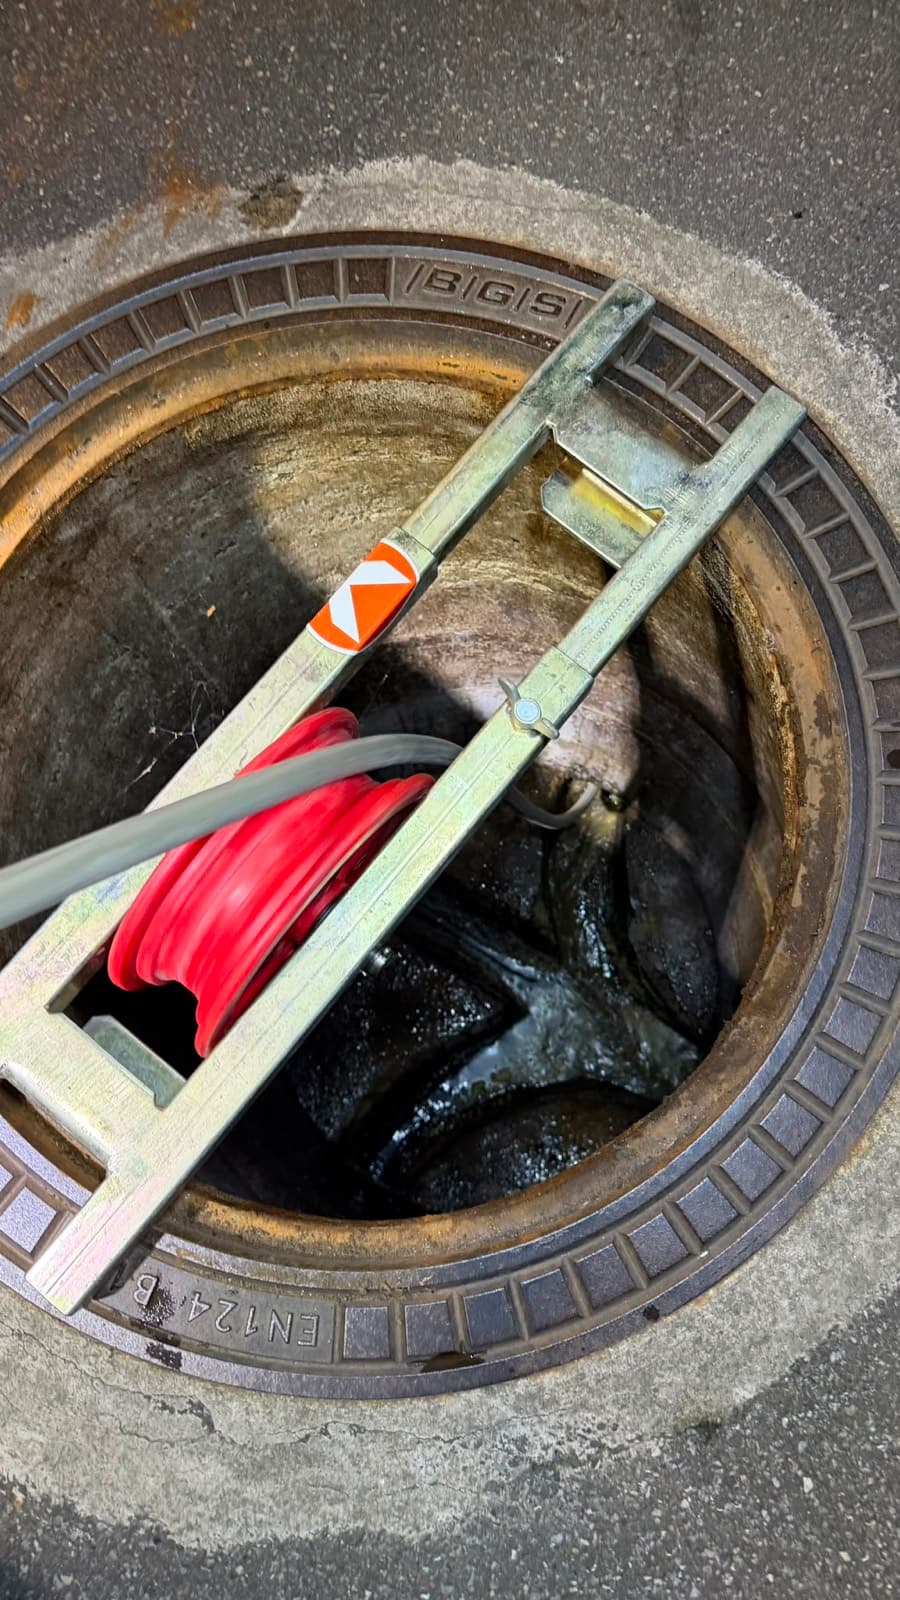
Chamber covers are divided into load classes according to the standard SN EN 124. The number after the letter stands for the test load in kilonewtons. A cover that is fine for the lawn will break under a delivery van; that is why every redesign must check whether the cover still suits the new use.
A common problem is a cover that is no longer at the right level. If the garden is built up, a driveway is re-paved or a surface is renewed, the chamber is suddenly too low or sticks out as a trip hazard. It is brought to the right level by adding or removing adjustment or bearing rings and resetting the frame in mortar. It is important that the joint to the chamber neck stays watertight – otherwise surface water carrying soil and gravel gets into the pipe.
Sunken, wobbling or rattling covers are a sign of a damaged chamber neck. Chamber covers and chamber necks are among the areas covered by Karo Kanaltechnik’s manhole rehabilitation; significant differences in level are recorded during the condition survey.
| Class (SN EN 124) | Test load | Typical installation location |
|---|---|---|
| A 15 | 15 kN | Green spaces, gardens, areas used only by pedestrians and cyclists |
| B 125 | 125 kN | Footpaths, pedestrian zones, car parks and parking decks for cars |
| C 250 | 250 kN | Gutter and kerb areas along roads |
| D 400 | 400 kN | Carriageways, driveways with lorry traffic, parking areas for all vehicles |
| E 600 | 600 kN | Traffic areas with high wheel loads, such as industrial and port areas |
| F 900 | 900 kN | Particularly heavily loaded areas, for example airports |
Duty to keep chambers accessible
An inspection chamber that nobody can open does not serve its purpose. The owner is responsible for maintaining the private property drainage and must ensure that the chambers remain accessible for checks, cleaning and emergencies. Exactly how far this duty extends and where the municipality becomes responsible is set out in the drainage regulations of the municipality concerned.
In practice, covers most often disappear during garden redesigns: under turf, gravel, wooden decking, planters or new paving. In an emergency – with backflow in the cellar – searching for them then costs valuable time. If you want to hide a chamber visually, it is better to choose a cover that can be planted or paved and lifted off at any time than to cover it over.
If a property belongs to several parties, for example in an apartment building or a condominium owners’ association, a list of all chambers with photos and their position on the plan is worthwhile. It makes both maintenance and emergency call-outs easier.
Typical damage to inspection chambers
Common findings are leaking joints between the chamber rings, cracks, washed-out mortar in masonry chambers and corrosion from aggressive gases in the wastewater. Ingrown roots, sunken or loose covers and damaged step irons are also common.
Much of this damage can be repaired without excavation: joints are sealed, walls coated, the channel re-formed and the cover replaced. Manhole rehabilitation of this kind significantly extends the service life and is usually much cheaper than a new chamber.
Cleaning and inspection via the inspection chamber
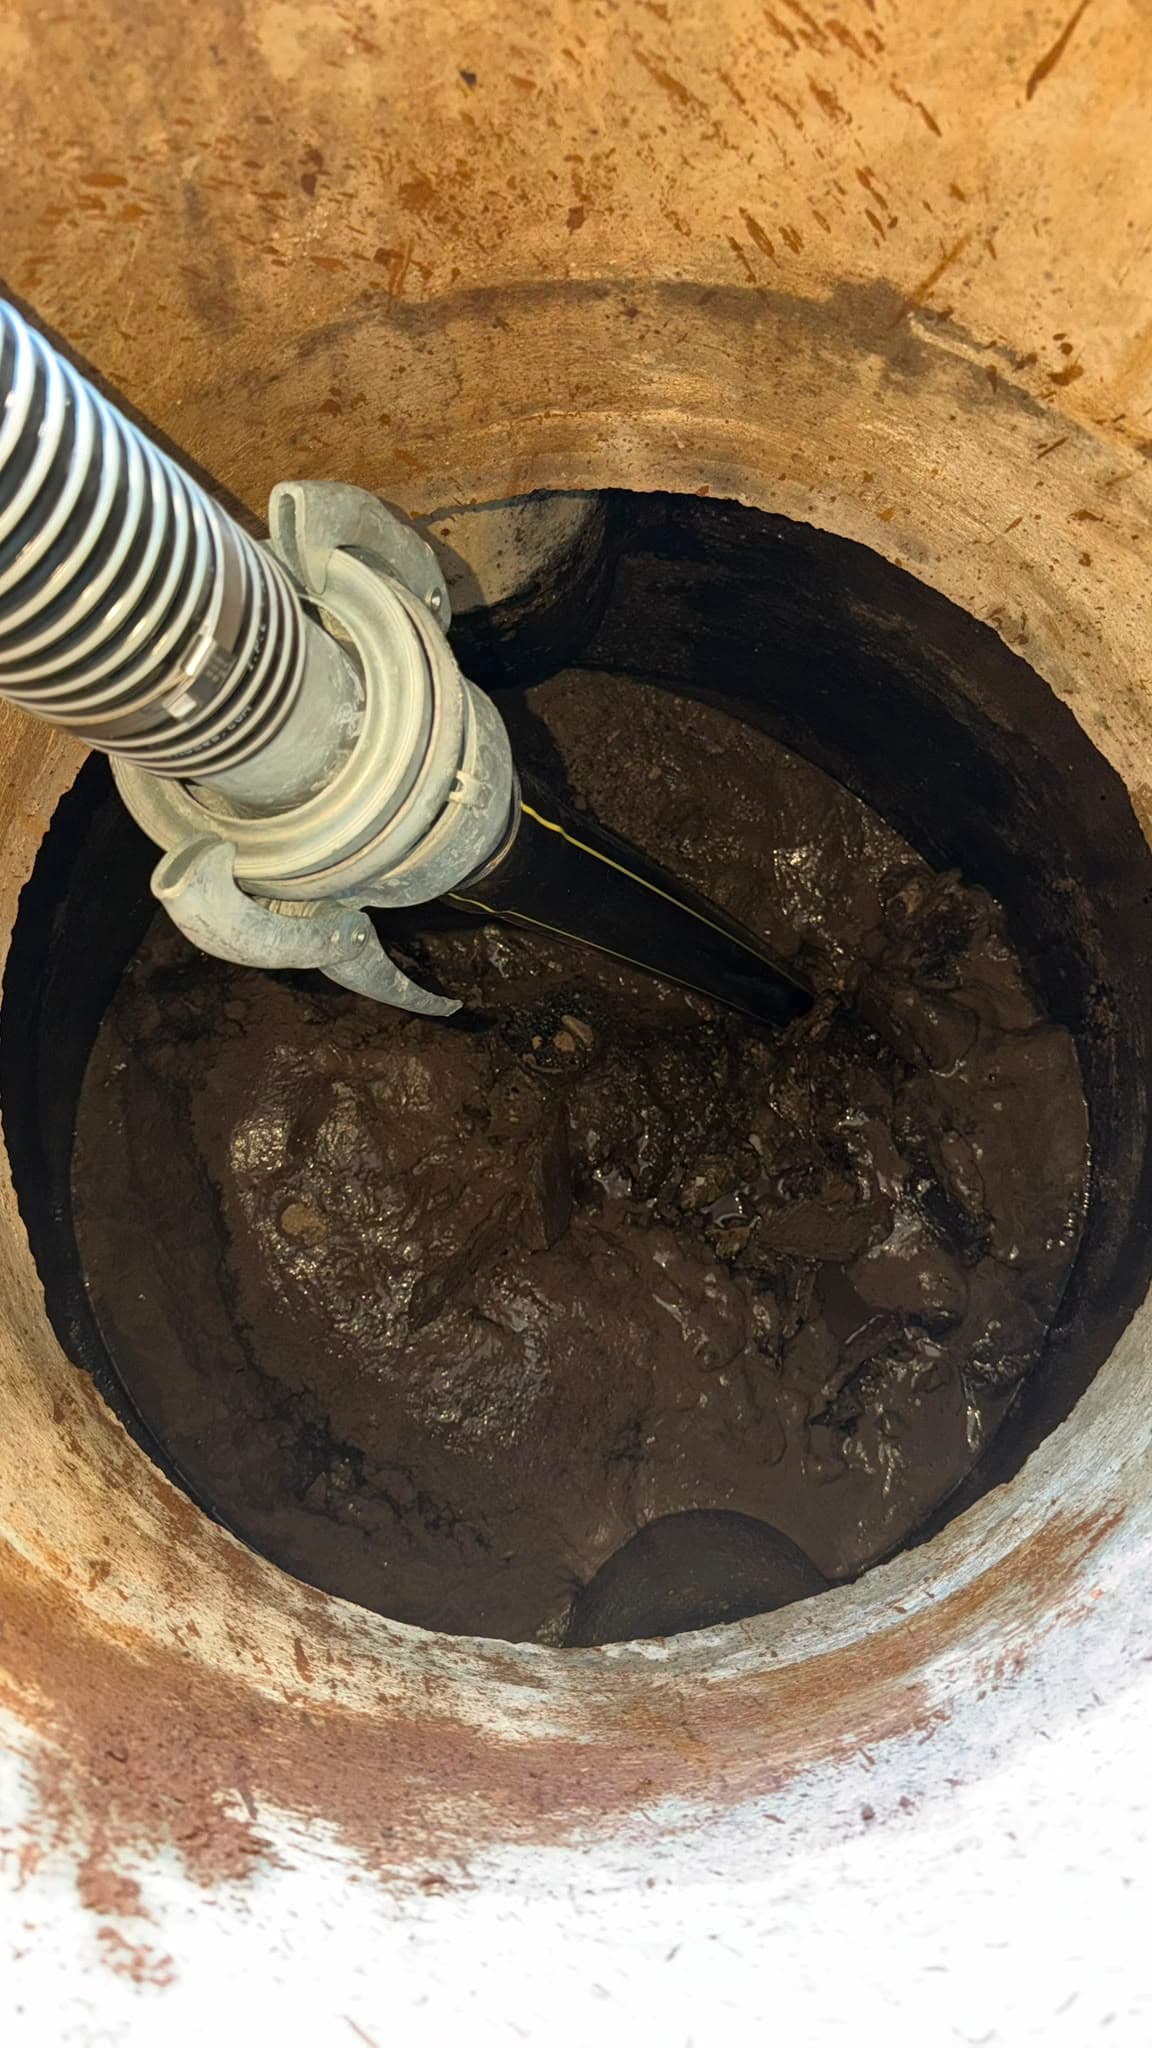
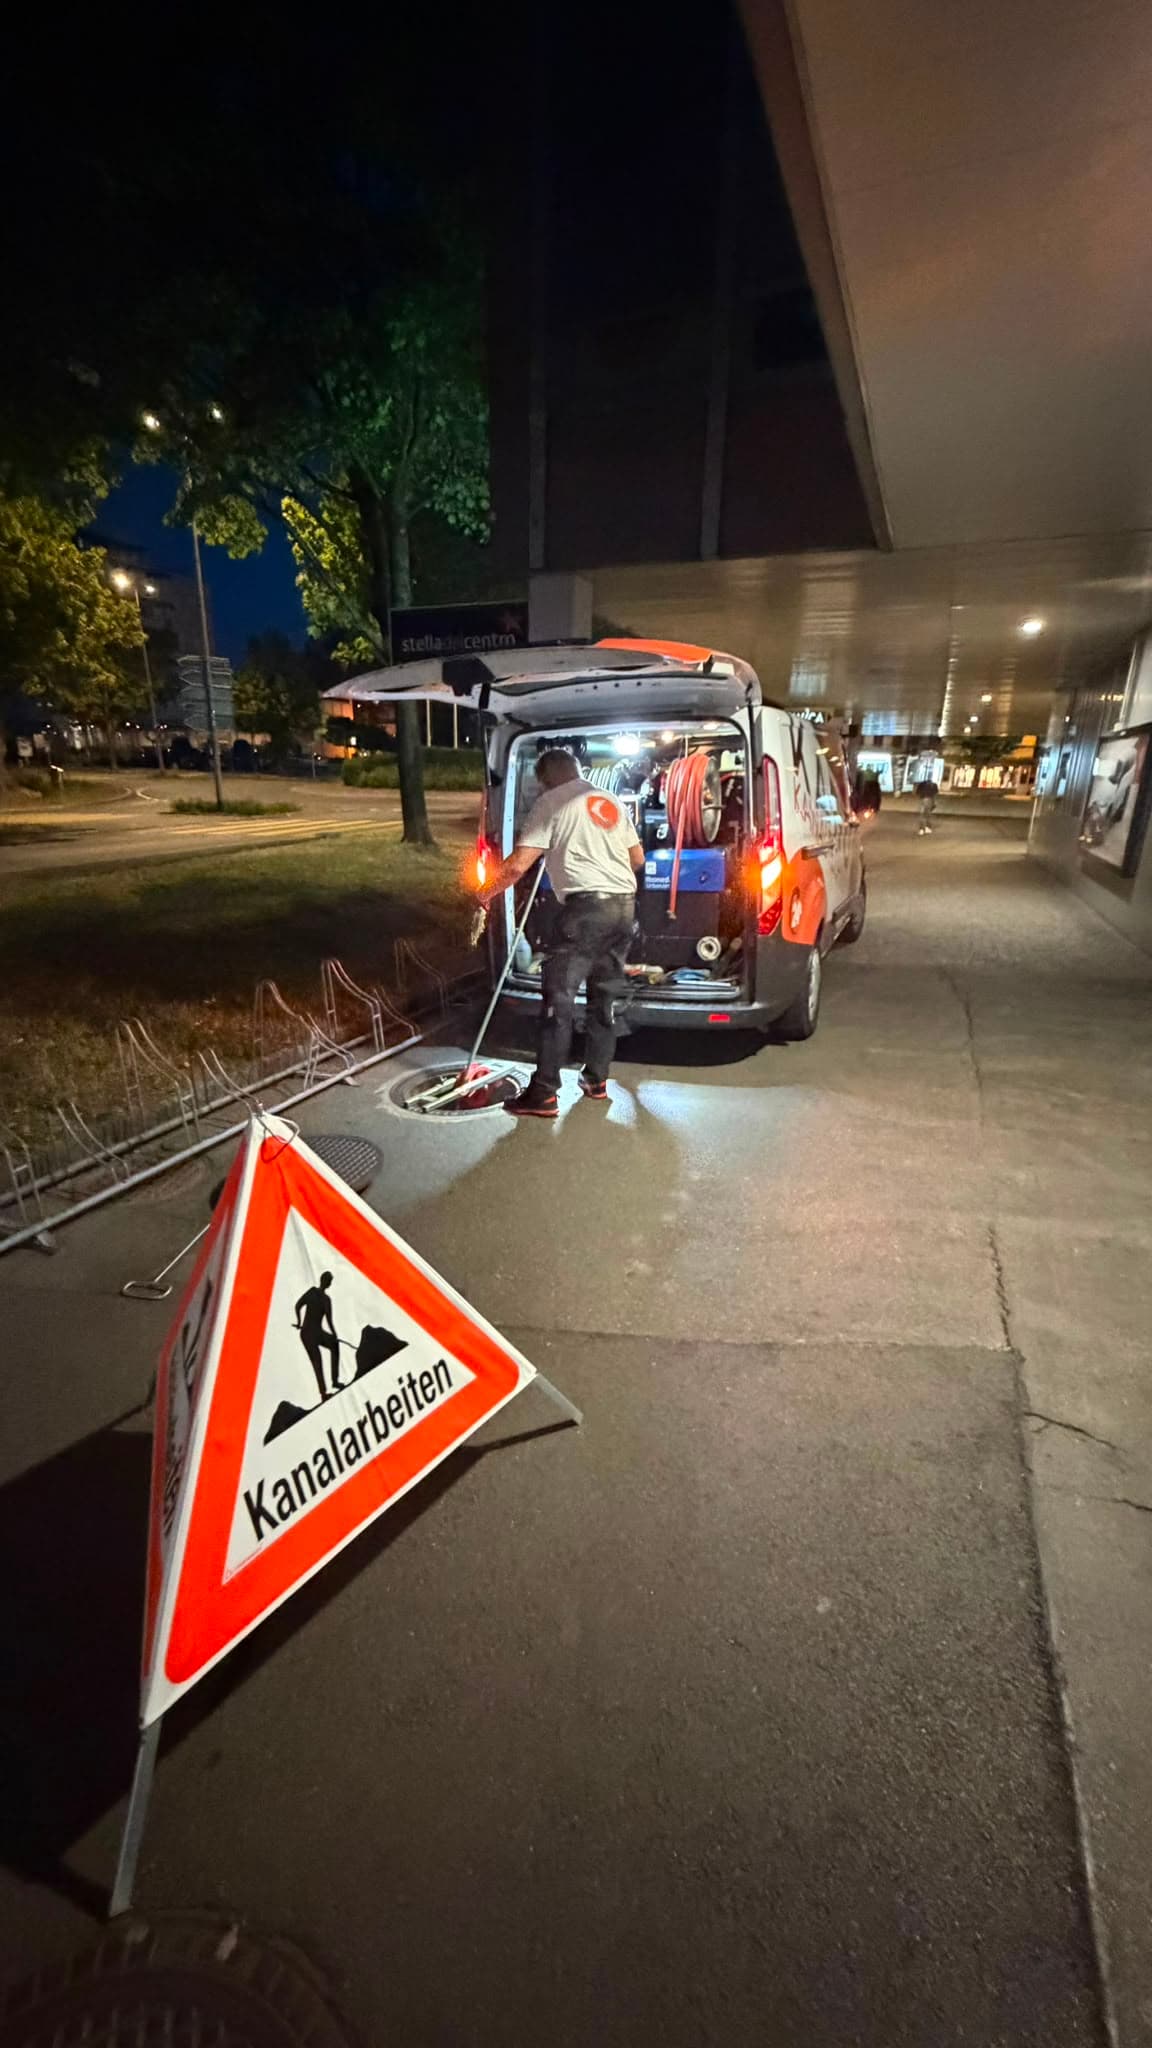
During drain cleaning, the team places the jetting nozzle in the inspection chamber and cleans the pipe section by section. Loosened deposits are flushed back to the chamber and picked up there with the suction hose. At the same time, the chamber itself is cleared of sludge, grease and sand.
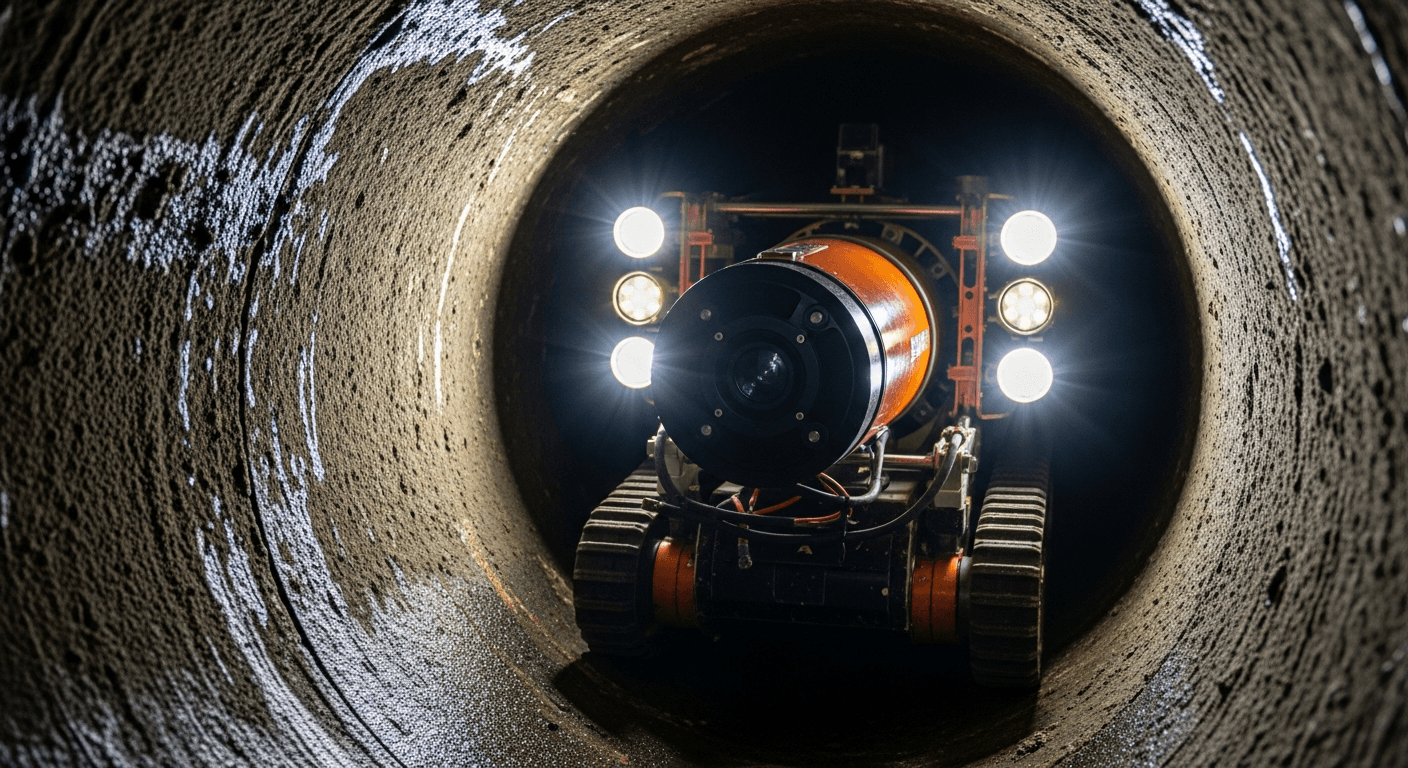
The camera can then travel from the chamber into the pipe. The images show cracks, displacements, root ingress or deposits, and the condition is coded to SN EN 13508-2. The leak-tightness test to SN EN 1610 is also carried out from chamber to chamber. An easily accessible inspection chamber therefore saves time and money on every job.
Karo Kanaltechnik works chemical-free with high-pressure water jetting at up to 200 bar. The result of the camera inspection is documented to SN EN 13508-2, so that owners, property management companies and municipalities receive a consistent report that can be compared with later surveys.
How much does it cost to clean or rehabilitate an inspection chamber?
At Karo Kanaltechnik, cleaning an inspection chamber is charged by time spent: CHF 160 per working hour plus a CHF 60 call-out fee, all prices excl. VAT. One hour of work including the call-out therefore comes to CHF 220 excl. VAT or CHF 237.82 incl. 8.1% VAT. The chamber and the connected pipes are usually jetted in the same job; a typical job in a single-family home costs around CHF 150 to 400. If the pipe is also to be checked with the camera, there is a CCTV surcharge from CHF 50.
For manhole rehabilitation, the price depends on the damage: whether only one joint needs sealing, the channel re-forming, the whole wall coating or the cover resetting only becomes clear from the condition survey. Karo prepares a quote for this after an inspection and provides a warranty of 5 to 10 years on manhole rehabilitation, depending on the method and scope.
The calculator on the ‘Drain cleaning costs’ page gives you a guide price for cleaning. The values in the table are Karo Kanaltechnik guide values; the actual price depends on the actual time and effort on site.
| Item | Karo Kanaltechnik guide price (excl. VAT) |
|---|---|
| Working hour, cleaning | CHF 160 |
| Call-out | CHF 60 |
| Example: 1 hour incl. call-out | CHF 220 (CHF 237.82 incl. 8.1% VAT) |
| Typical job, single-family home | Usually CHF 150 to 400 |
| CCTV surcharge | From CHF 50 |
| Manhole rehabilitation | Quote after condition survey, 5 to 10 years’ warranty depending on method and scope |
In a single-family home in Muri AG, wastewater from the kitchen was draining away more and more slowly. The owner did not know where his chambers were – two covers had disappeared under new paving. Karo located the underground drain with a camera and sonde, uncovered the inspection chambers again and cleaned the pipe with high-pressure water. The subsequent camera inspection revealed a leaking joint in the chamber before the road connection, which was sealed in a small manhole rehabilitation.